# Mailjet Integration
Send professional, compliant emails from your business domain instead of Tillhub's domain. This integration allows you to maintain your brand identity across all automated communications while ensuring legal compliance and building customer trust.
Once you configure Mailjet, all emails for the following cases will be sent using the email address you set up in Mailjet:
- Table reservation (confirmations and reminders)
- Appointment booking (confirmations / reminders)
- Receipts
- Delivery notes
- Purchase orders (to suppliers)
# Prerequisites
Before starting the integration, ensure you have:
- Mailjet Account: Create an account at mailjet.com (opens new window)
- Verified Sender Email: Your business email must be verified in Mailjet
- API Credentials: Mailjet API Key and API Secret, see here (opens new window) on how to get them
# Getting Started
Note: Before configuring Tillhub, ensure you have created a Mailjet account, verified your business email addresses, and obtained your API credentials from the Mailjet dashboard.
# Step 1: Configure Mailjet Integration
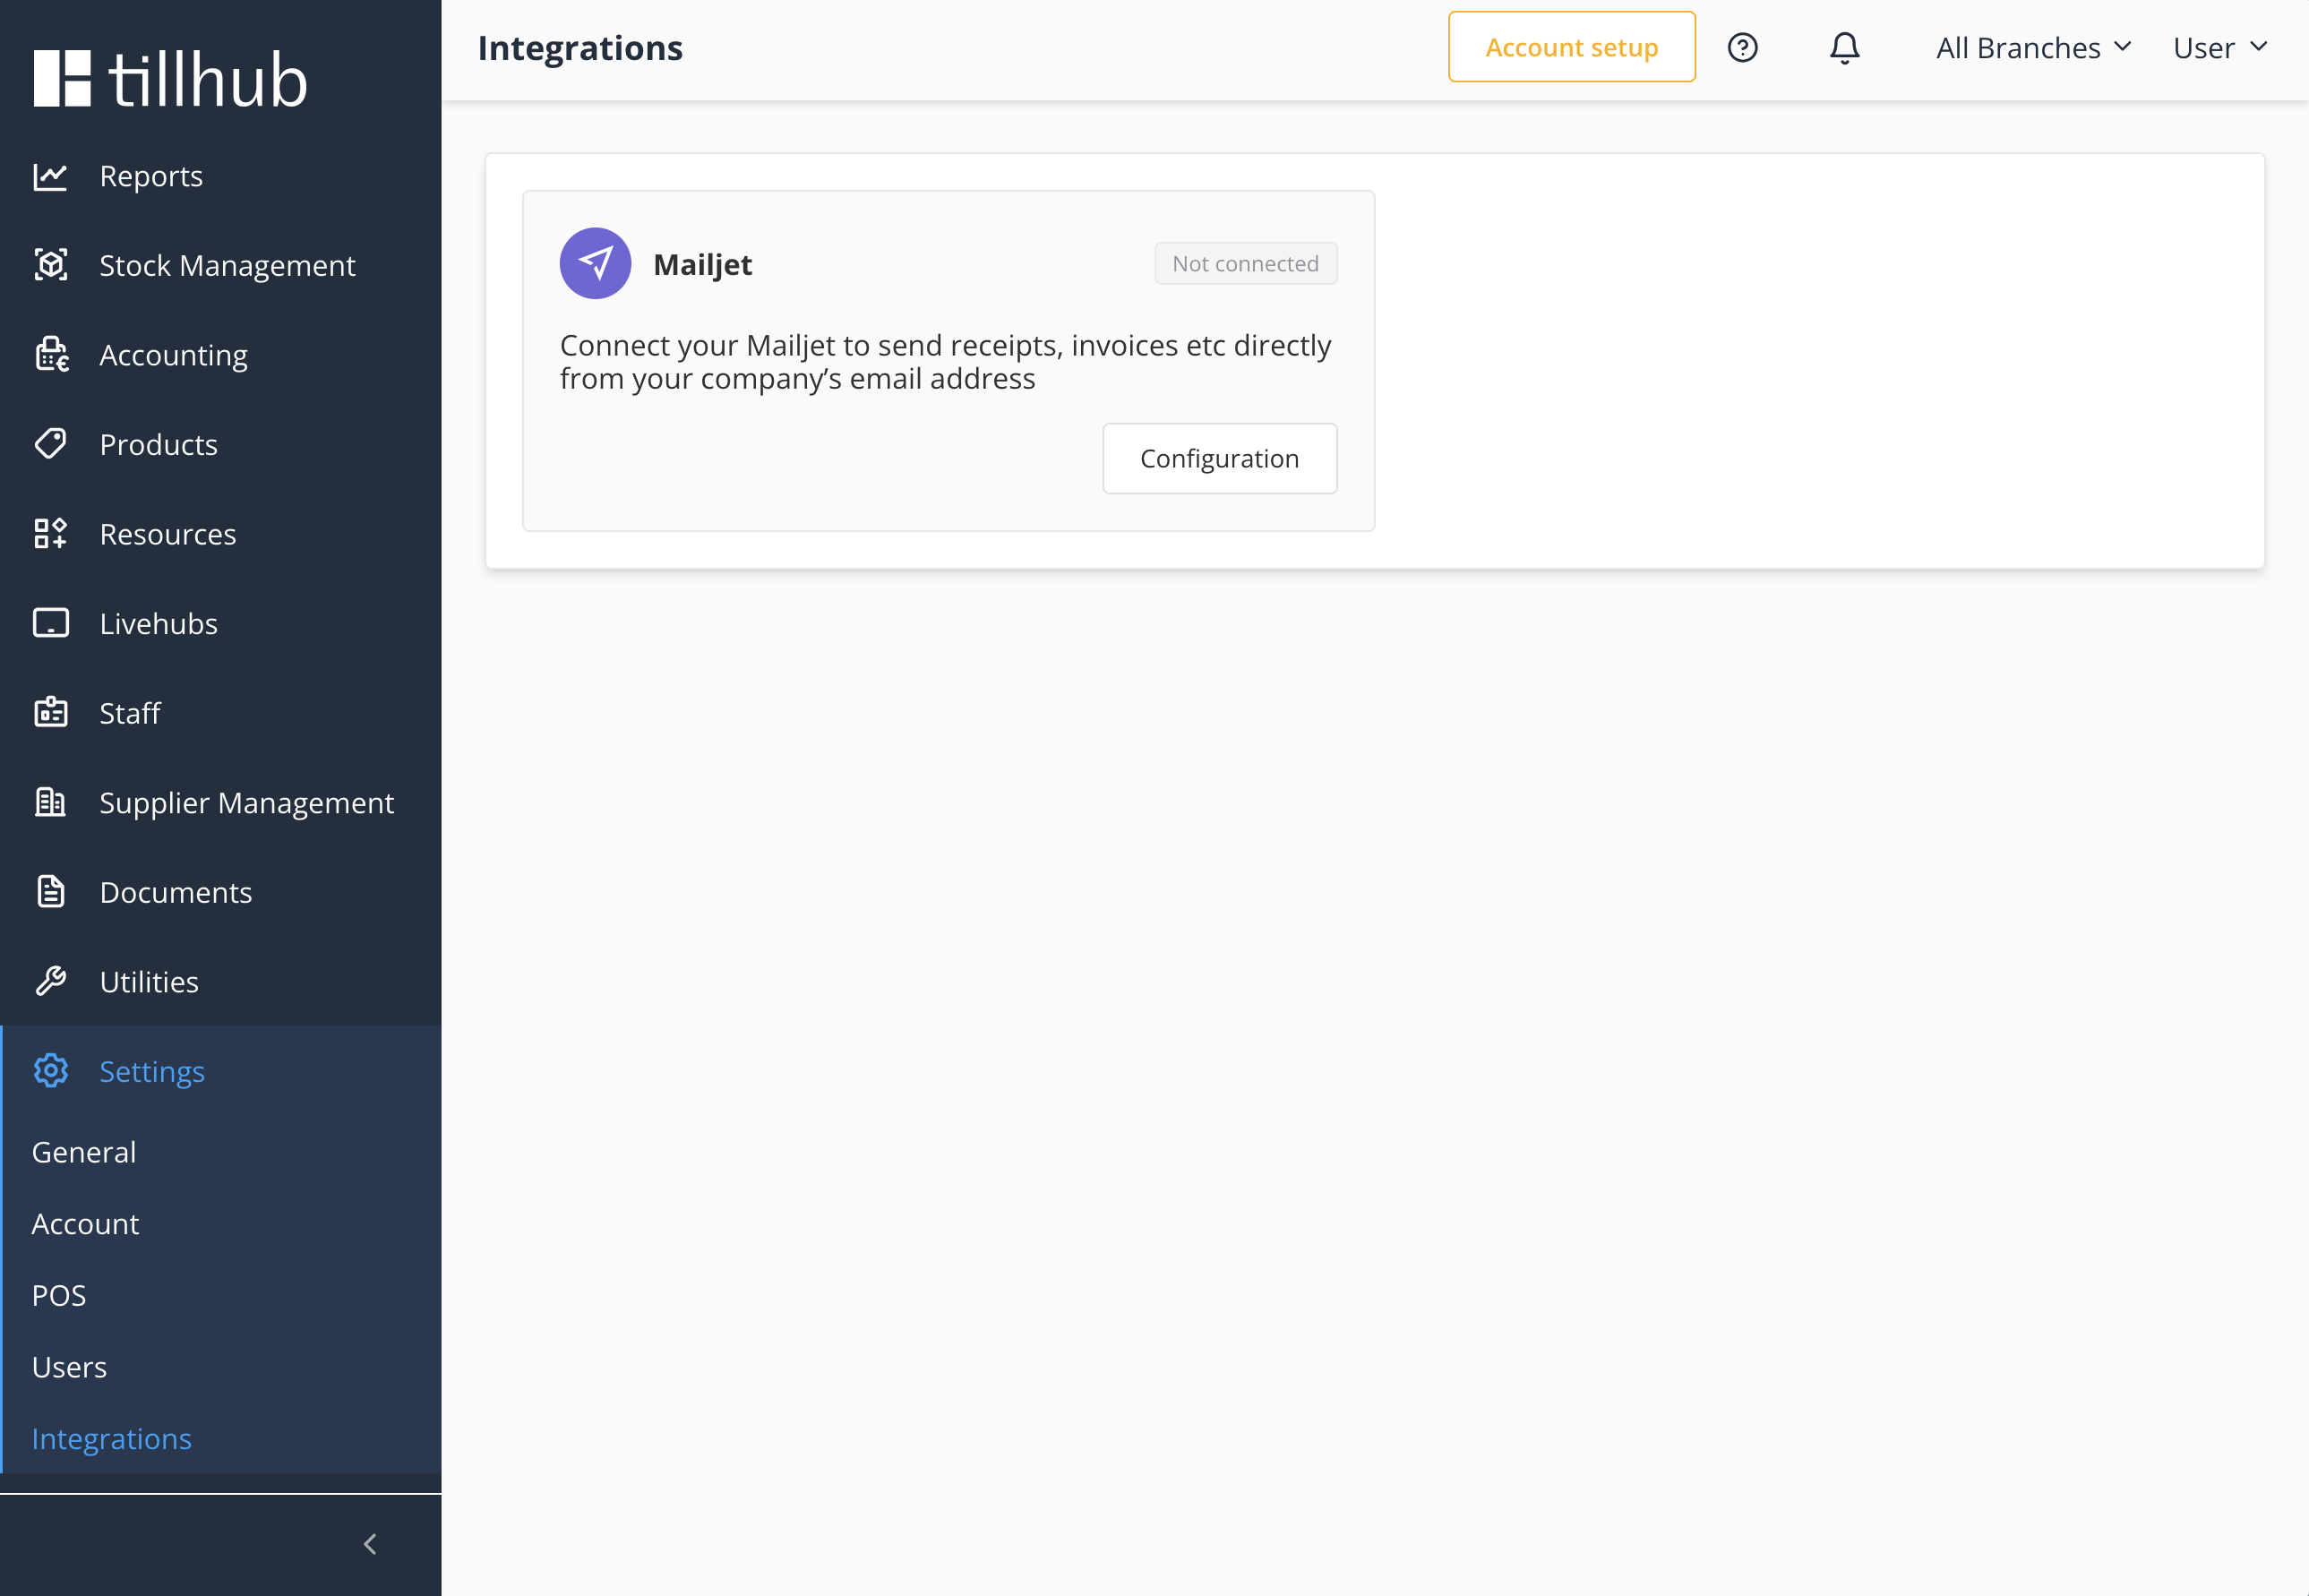
After setting up your Mailjet account, navigate to the Tillhub Dashboard and visit the Settings > Integrations page. Click the Configuration button inside the Mailjet card to begin configuring your integration.
Enter your API Key and Secret Key from your Mailjet account, then click Save.
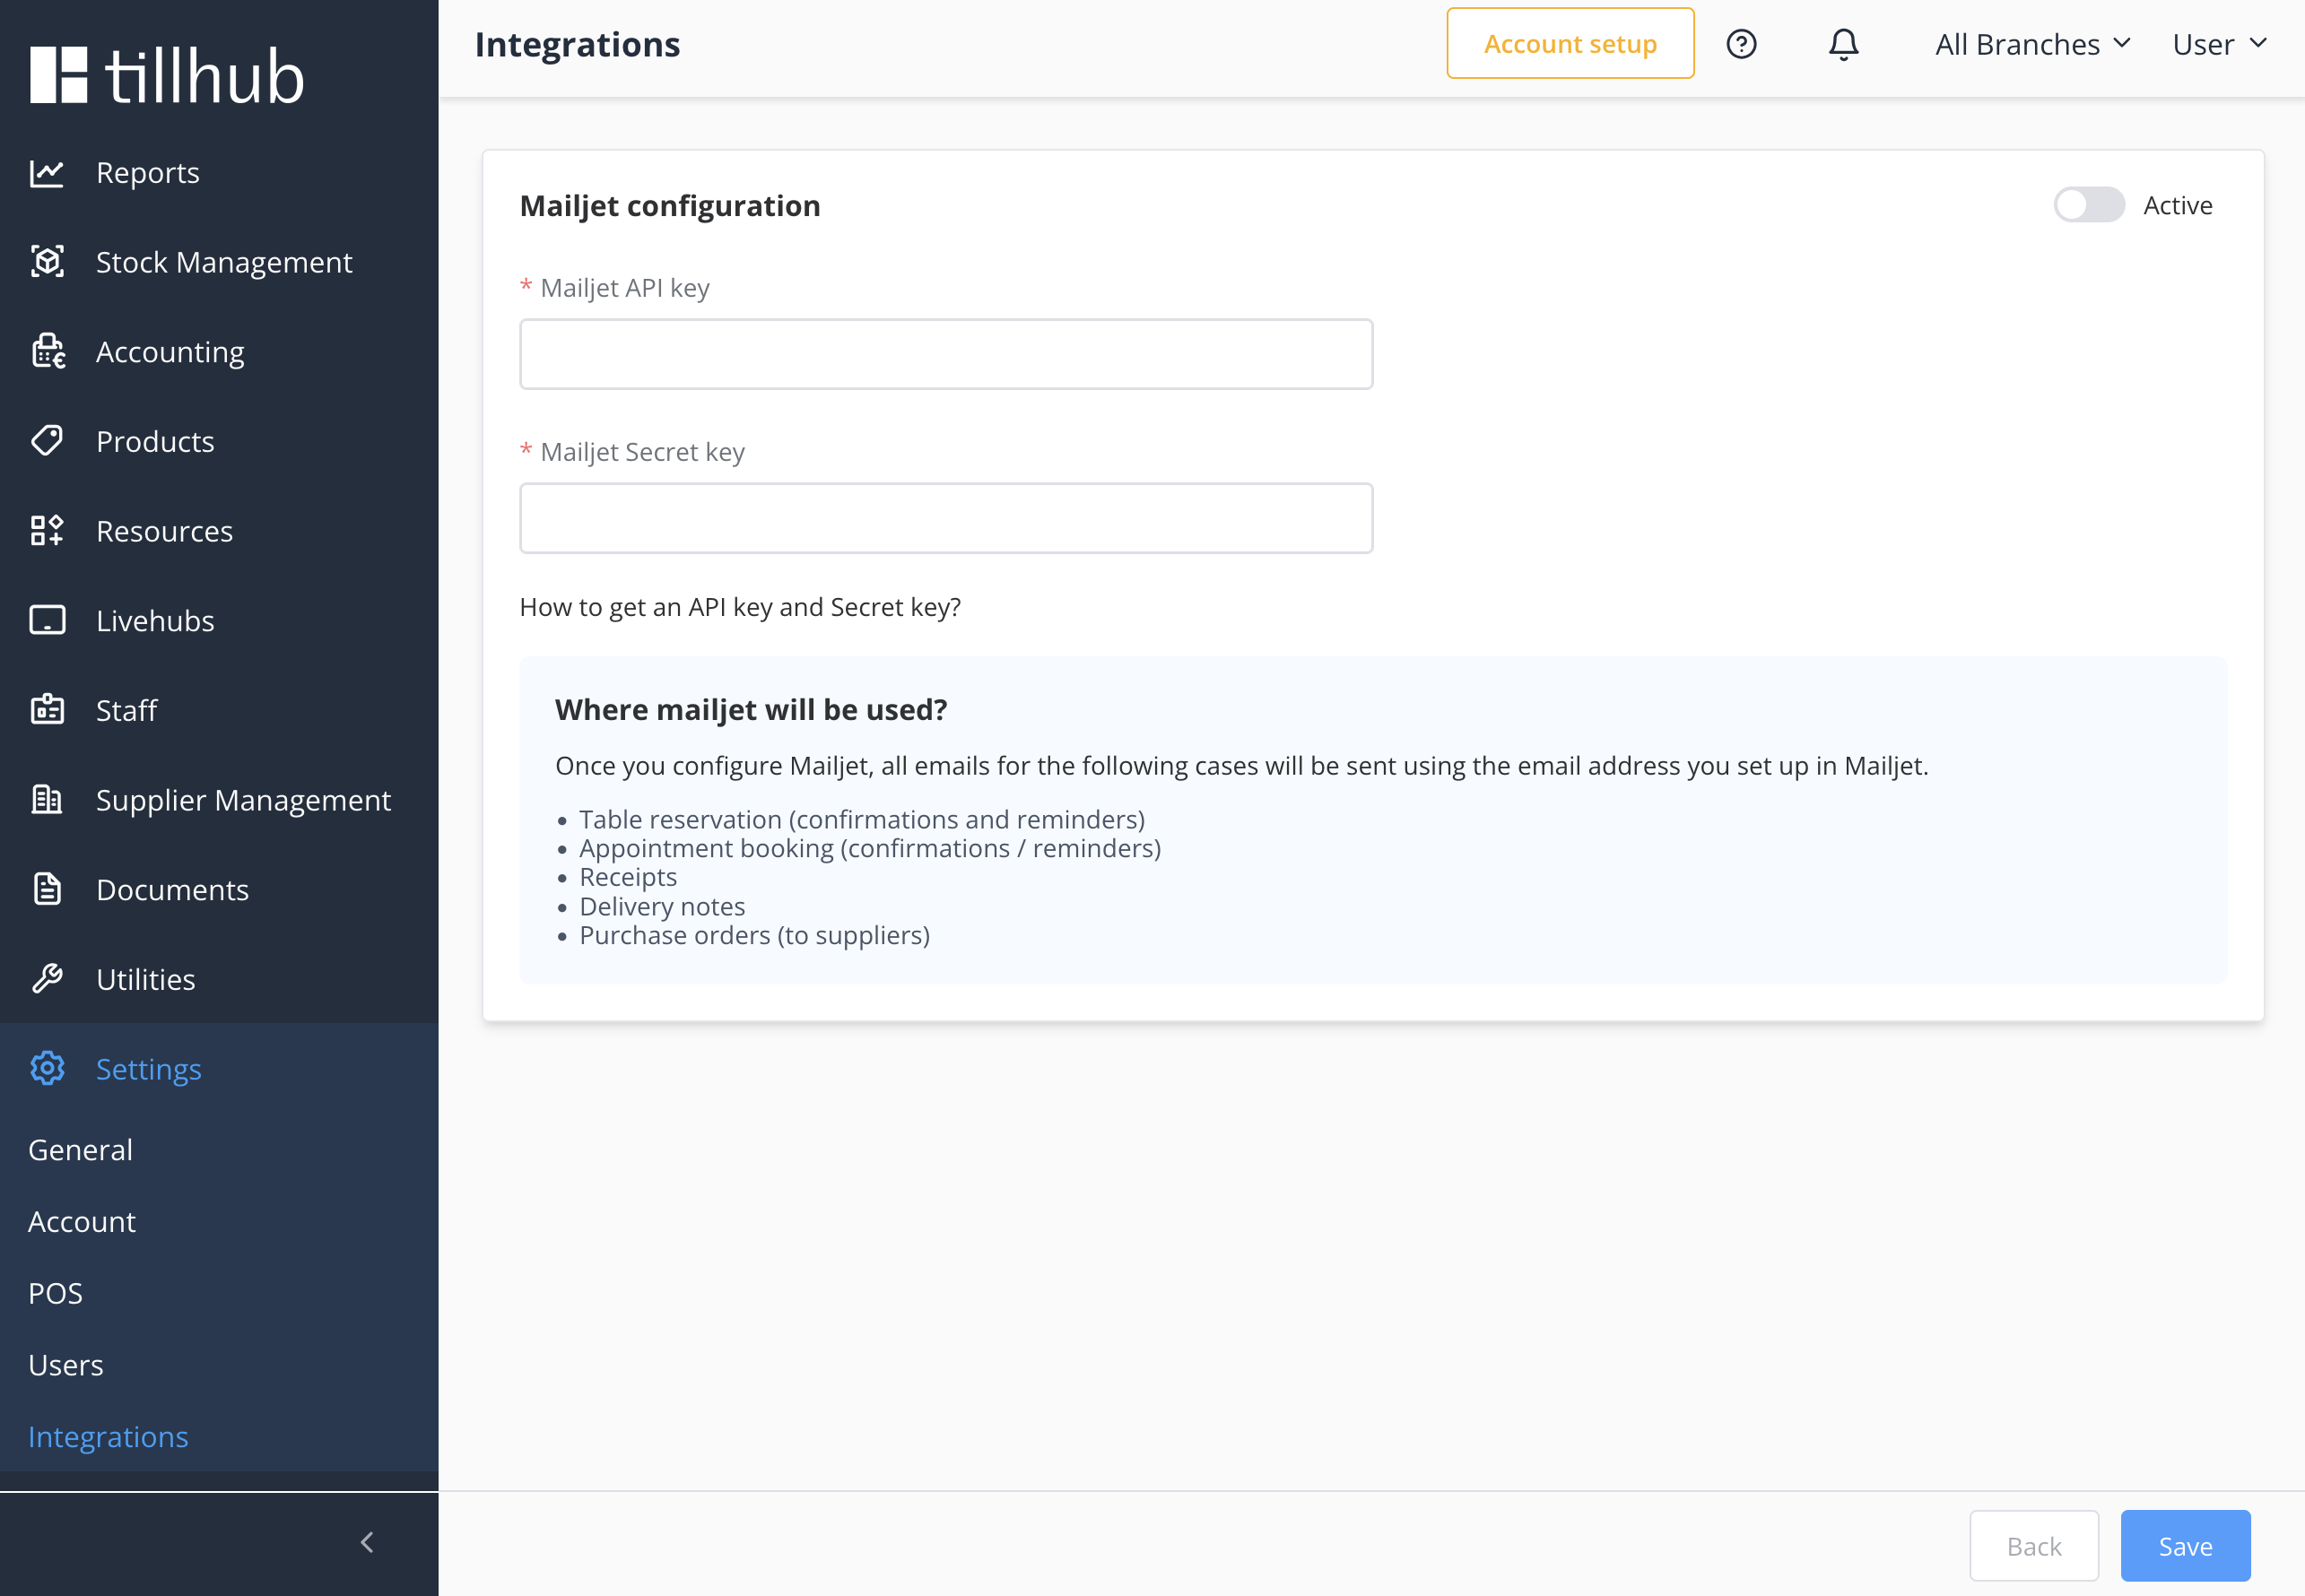
# Step 2: Enable/Disable Integration
After successfully saving your credentials, you can enable or disable your Mailjet integration by toggling the Active switch in the top-right corner and clicking Save.
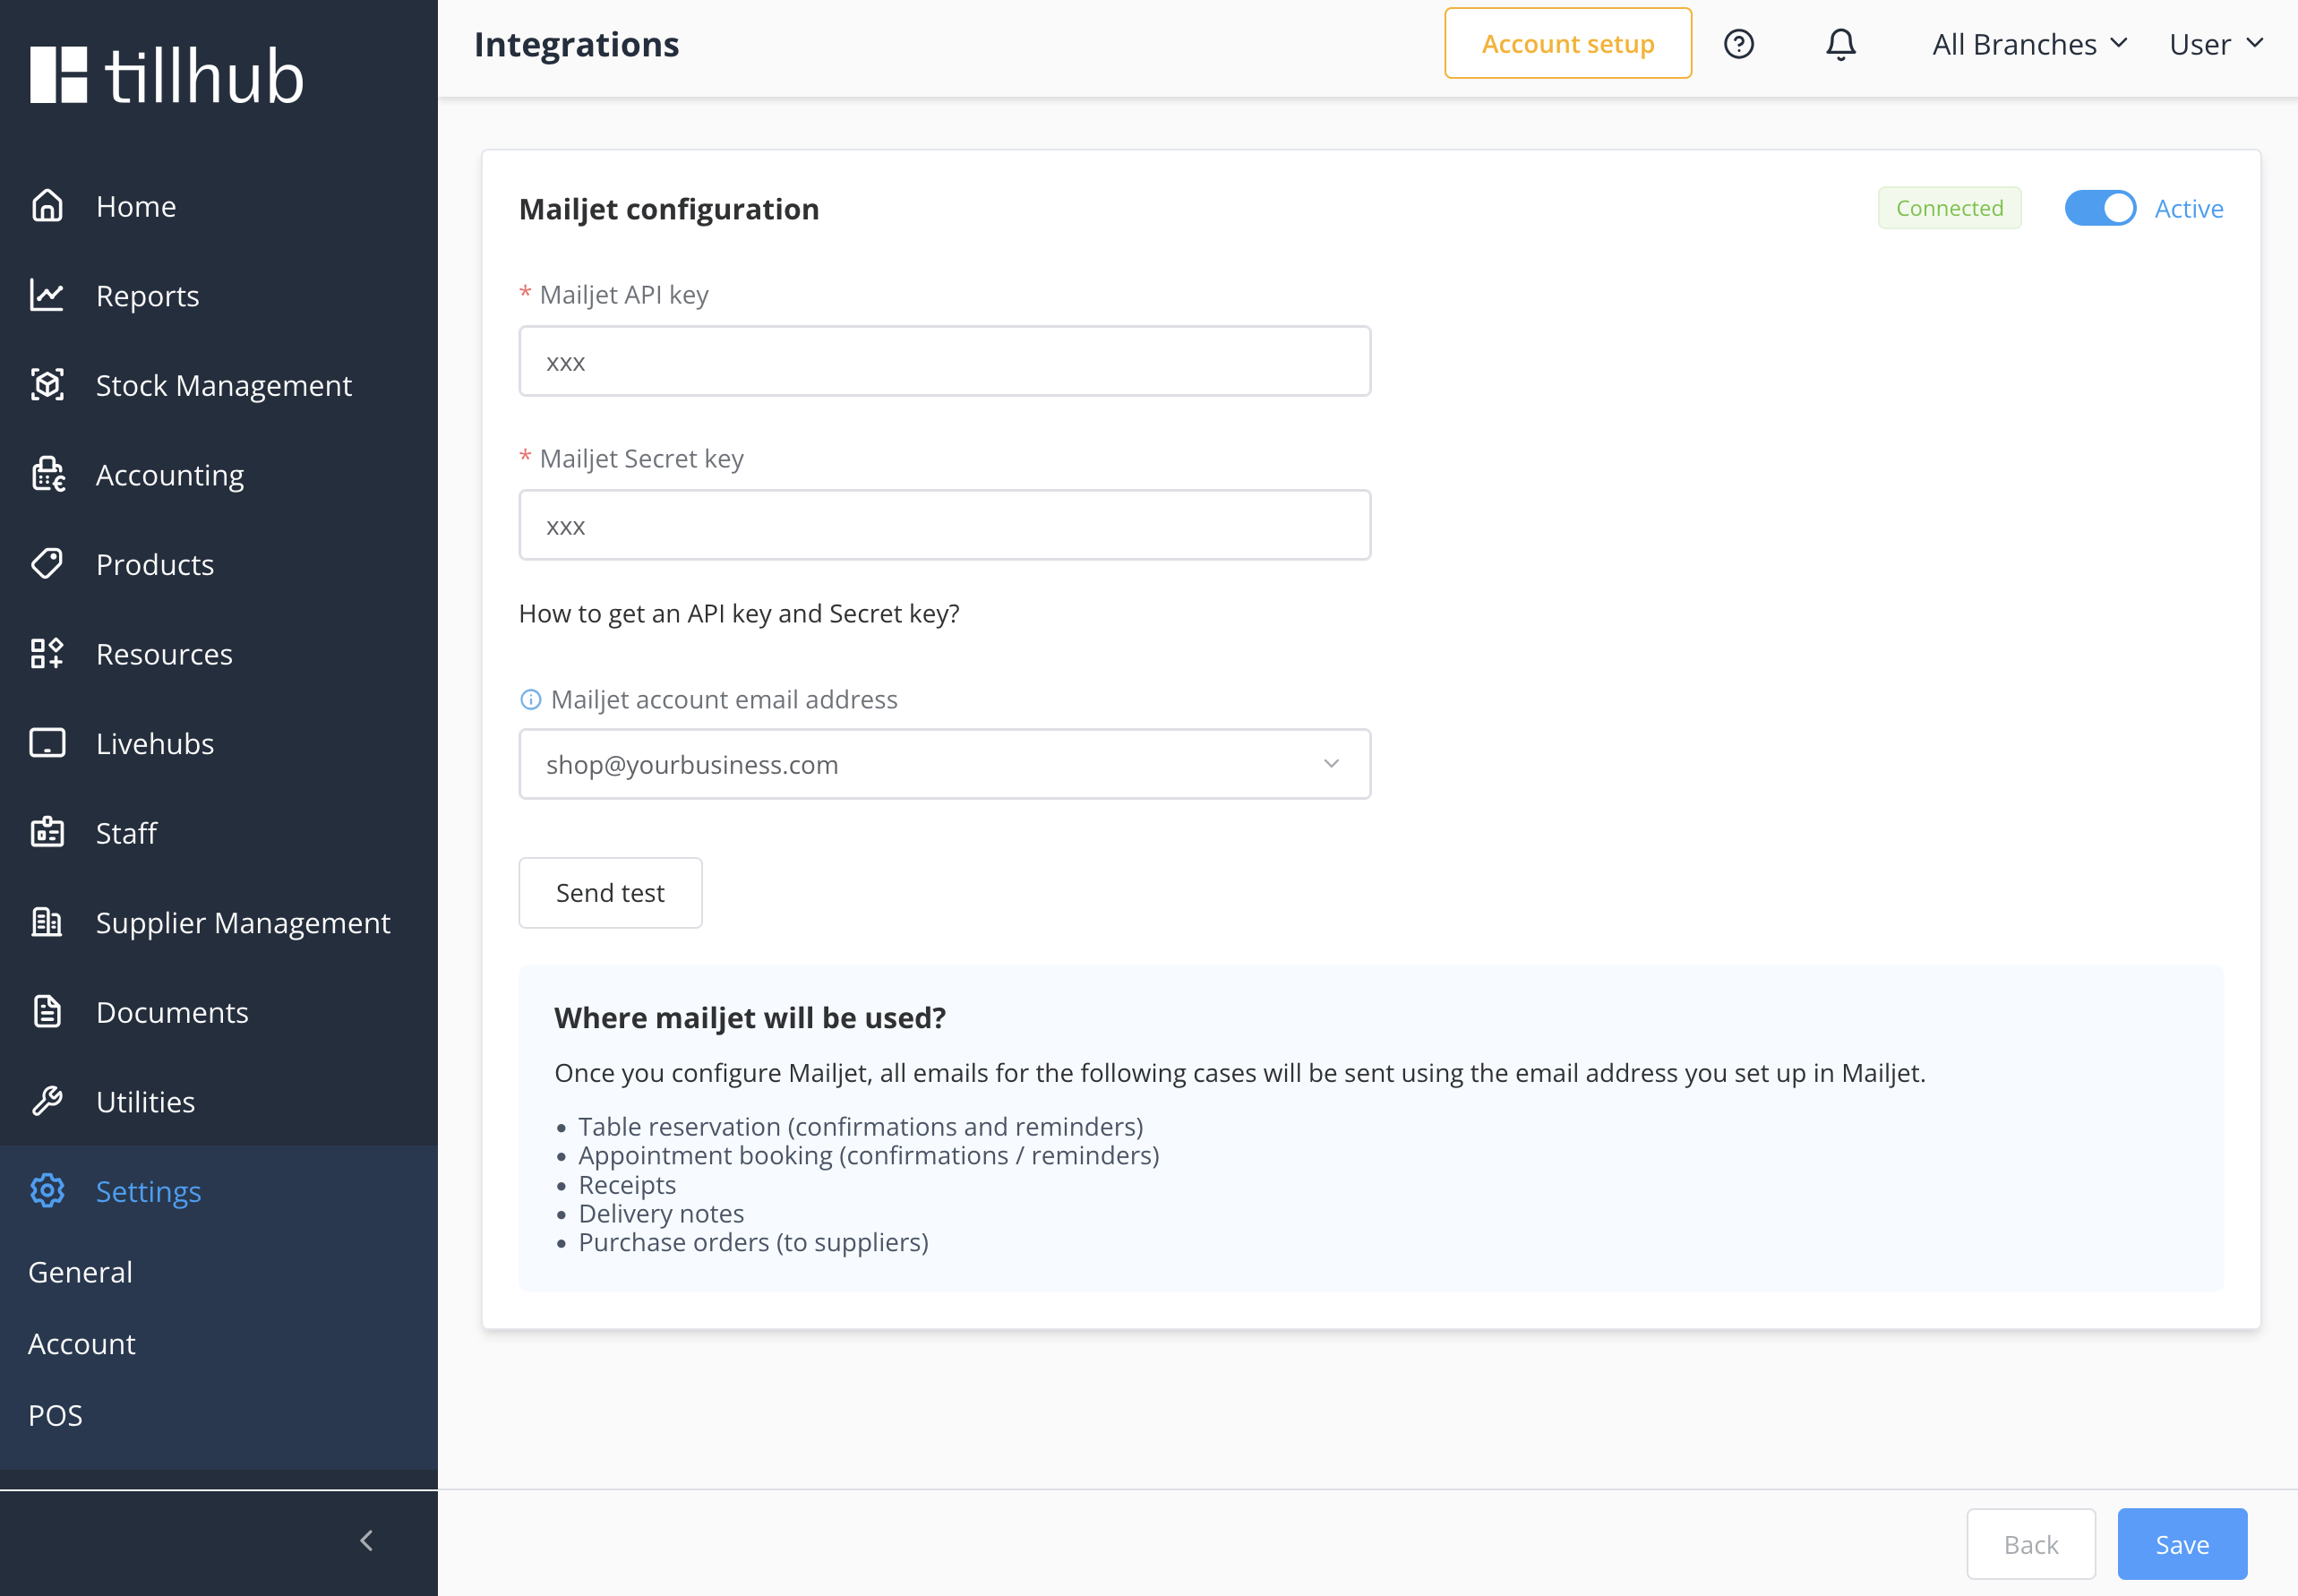
# Step 3: Set Default Sender Email
Once you've successfully saved your Mailjet credentials, you'll see a dropdown menu displaying all verified email addresses from your Mailjet account.
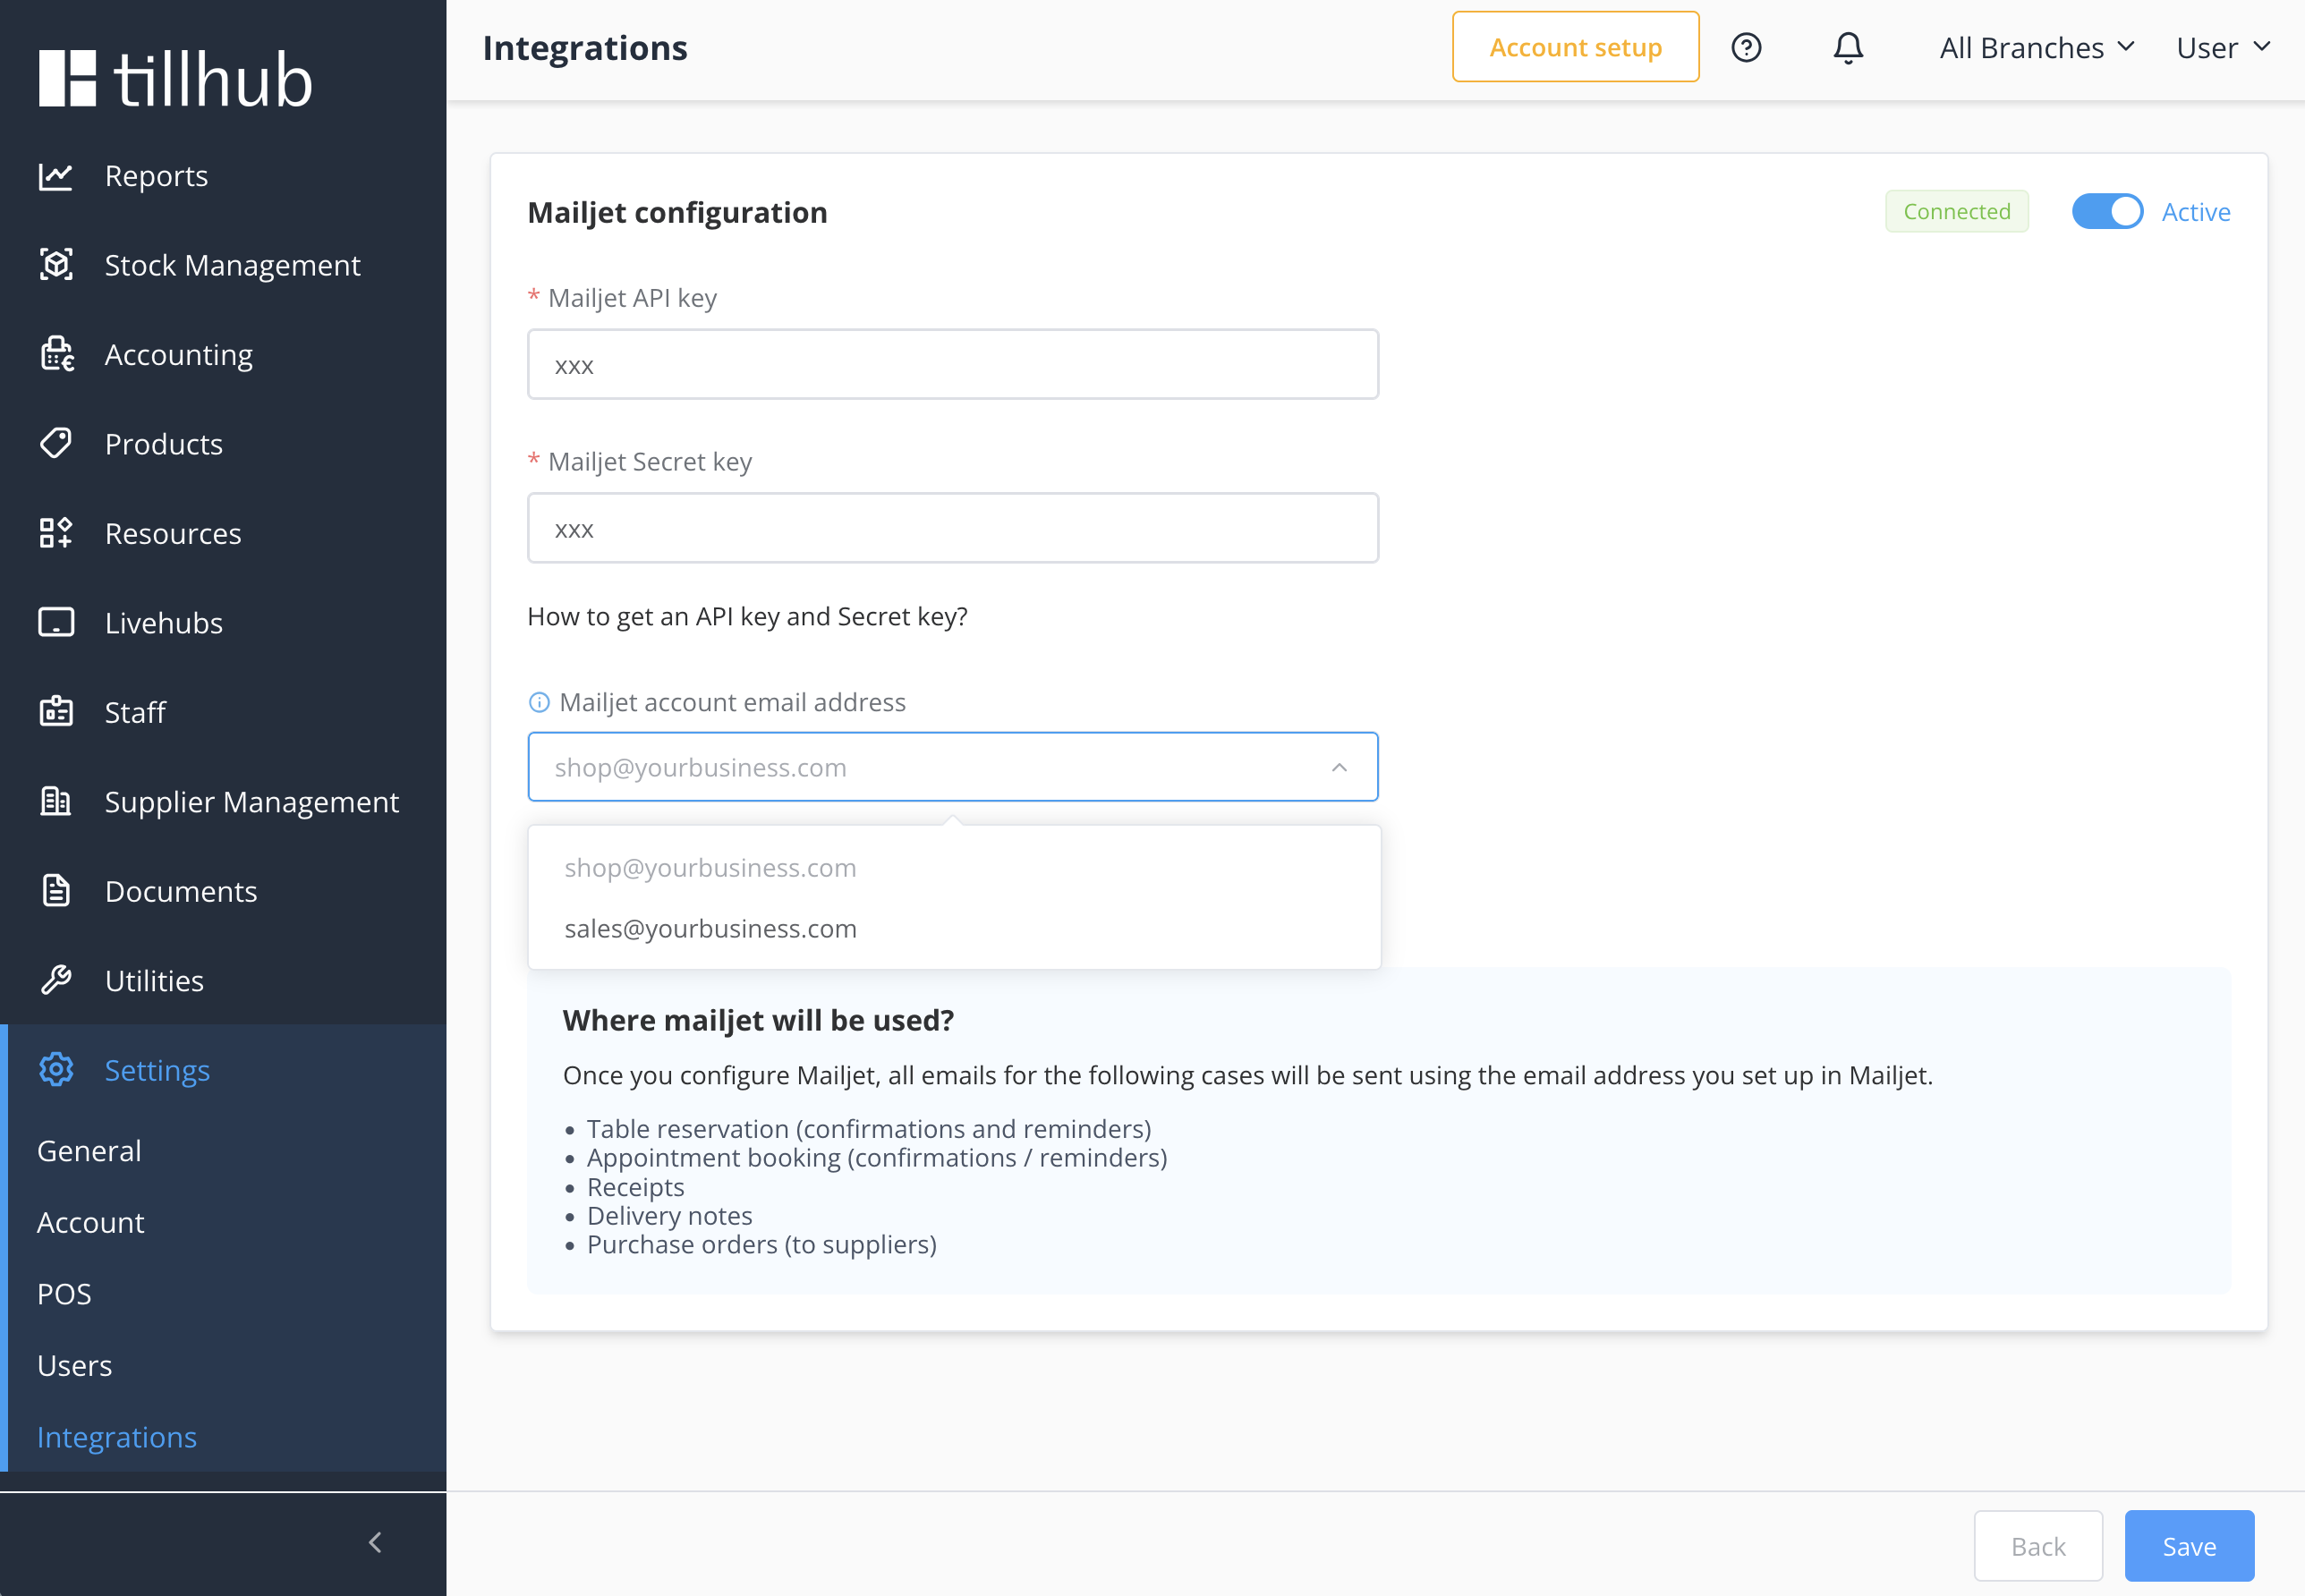
Select the email address you want to use as your default sender. This email will appear as the sender for all outgoing communications from Tillhub.
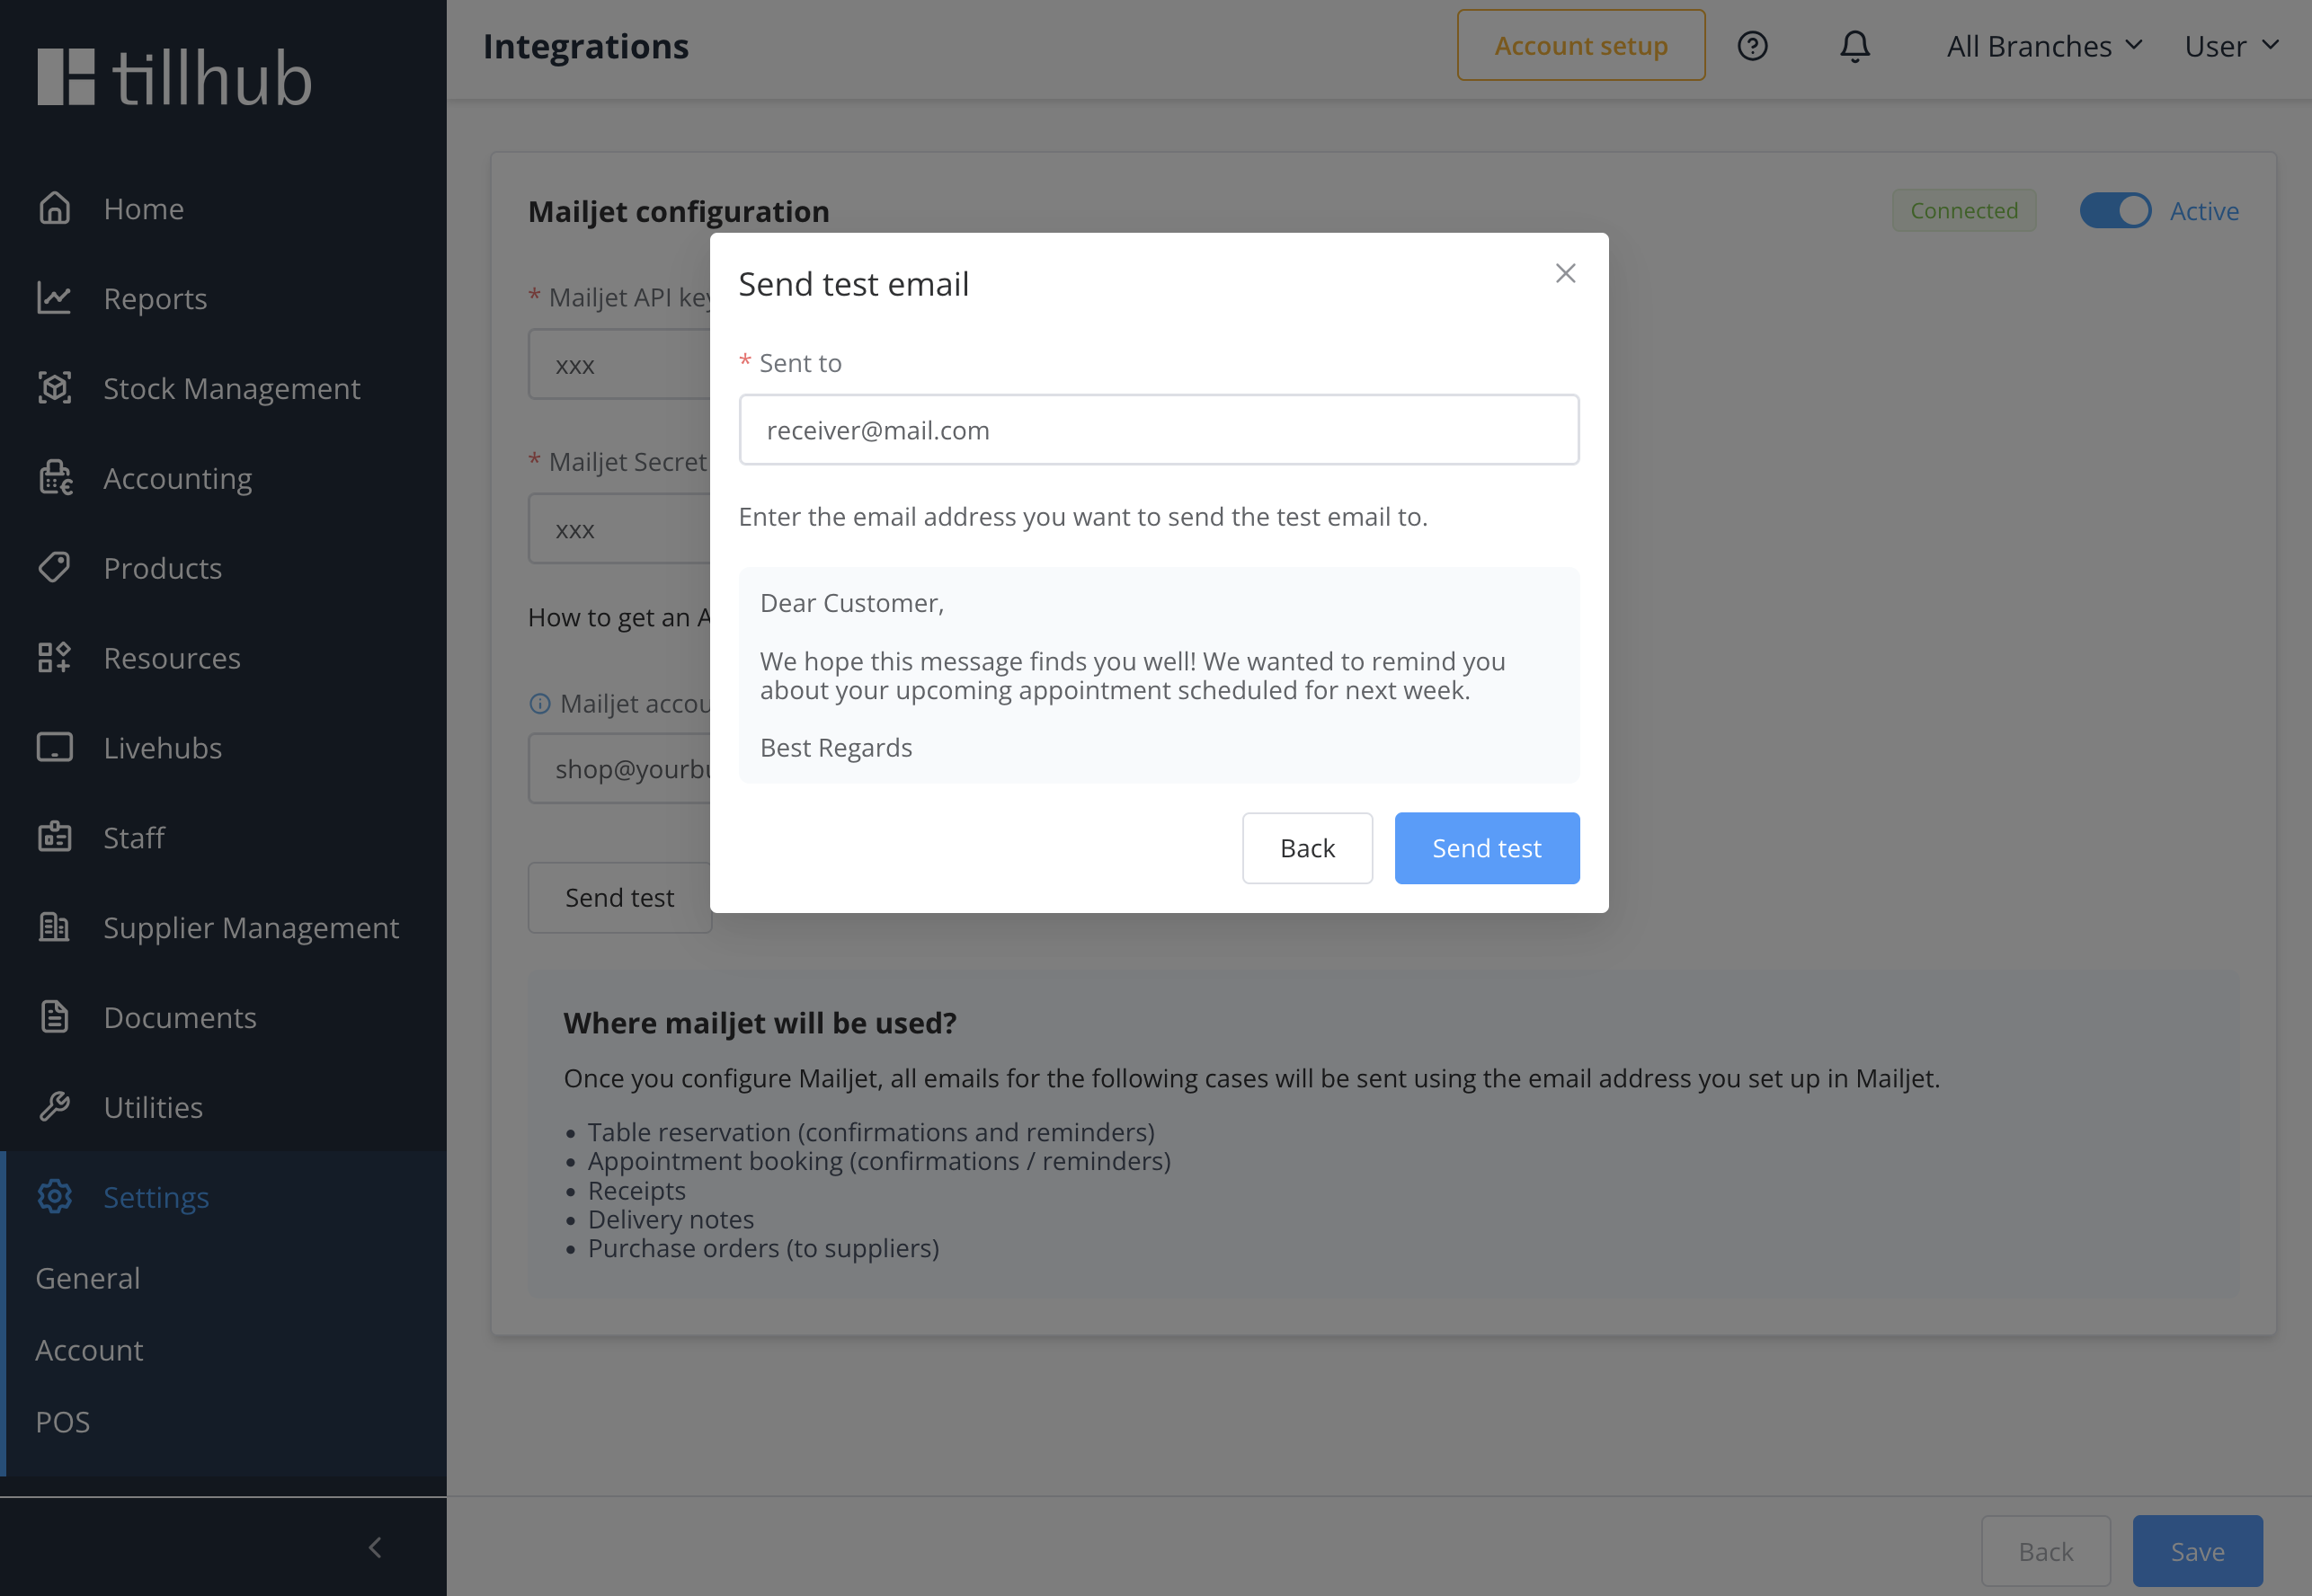
# Step 4: Test Your Integration
You can verify that your Mailjet integration is working properly by clicking the Send Test button. Enter any email address where you'd like to receive the test email to confirm your setup is working correctly.
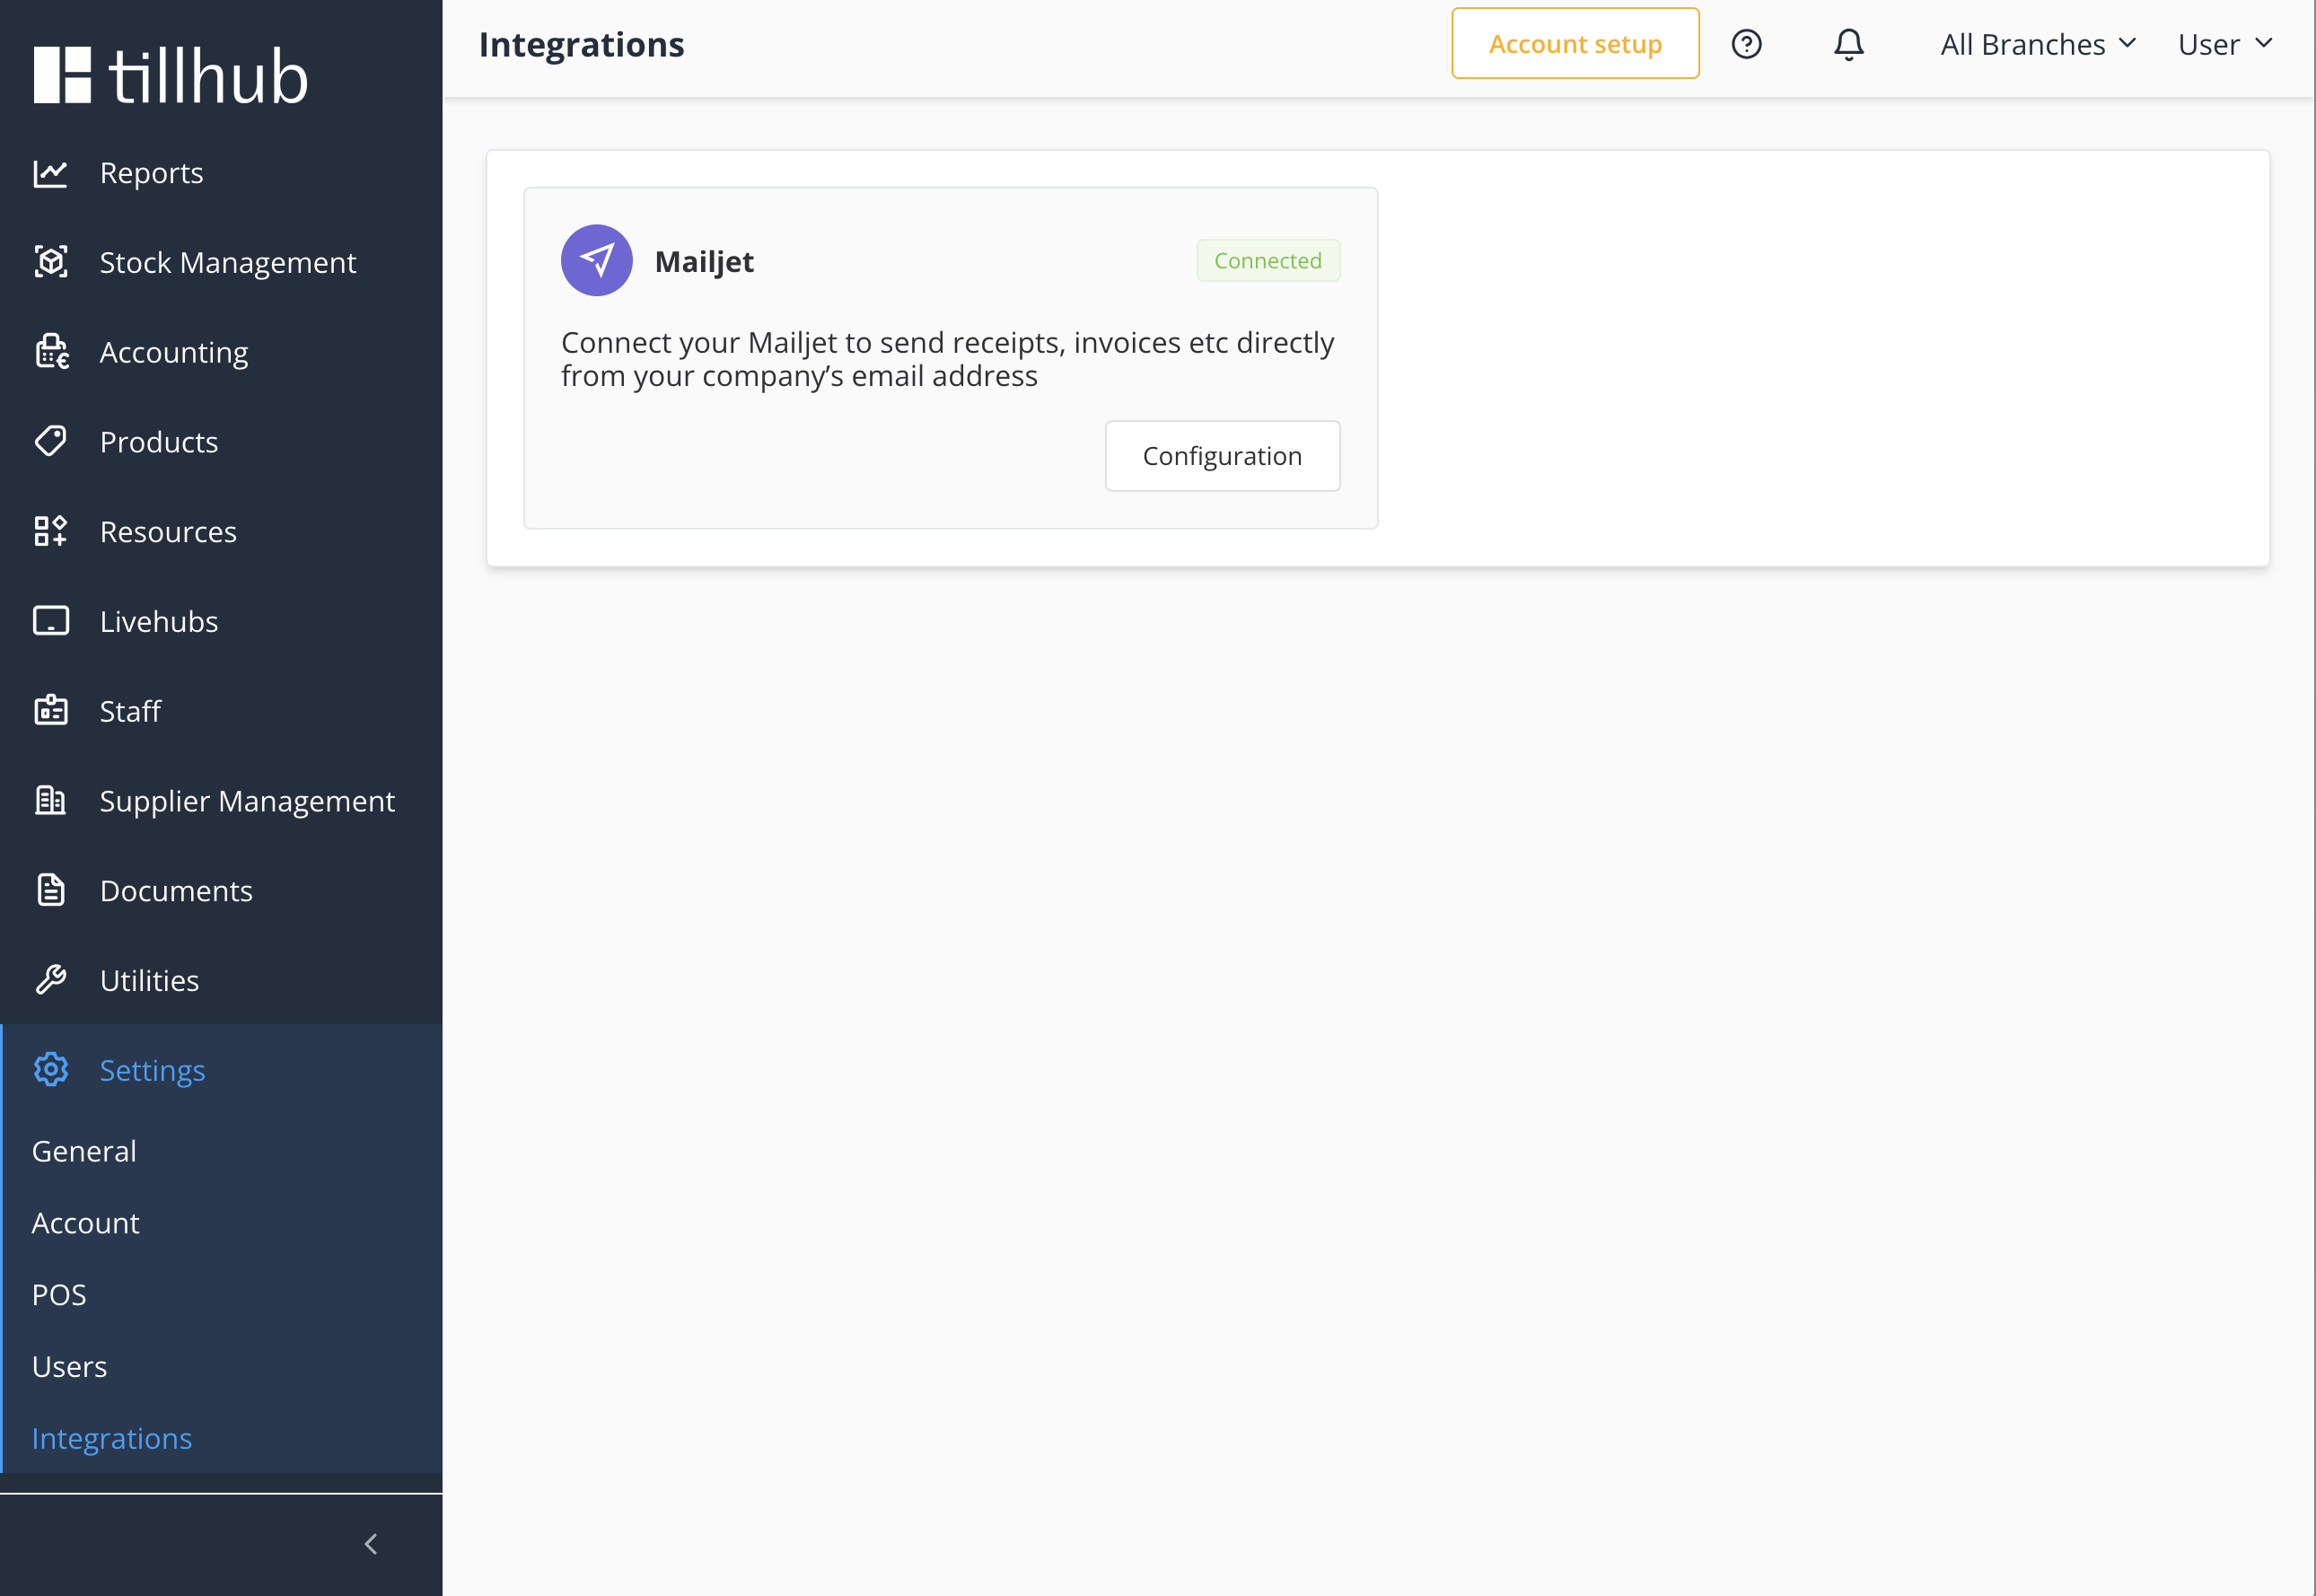
# Integration Status
Your Mailjet integration status is always visible on the Mailjet card. When properly configured and active, you'll see a Connected label indicating your integration is working.